


7 Steps of Lockout-Tagout-Tryout
- Posted on
- 0
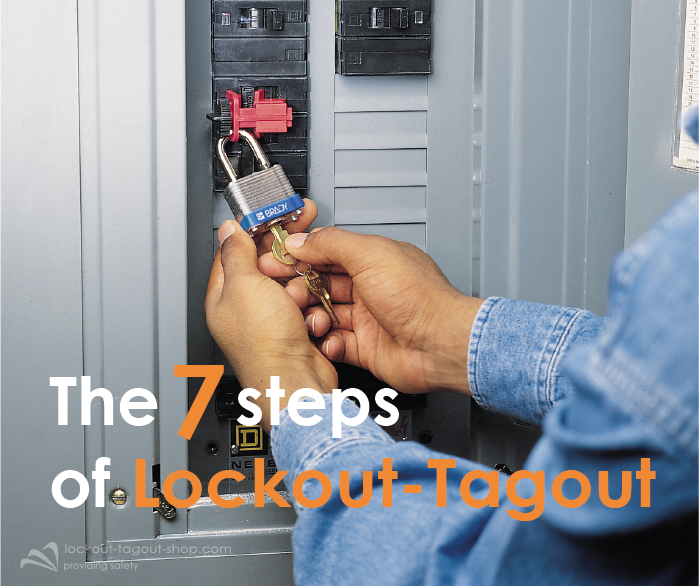
What is Lockout-Tagout?
Every year, thousands of industrial accidents happen at work during repair or maintenance work on industrial equipment. Most of these accidents are due to power sources not being switched off. Lockout-Tagout is a procedure that helps prevent accidents on the workfloor.
The Lockout-Tagout procedure ensures that equipment is shut down and not operable during maintenance or repair work.
OSHA-standards
Using the right Lockout-Tagout procedures protects workers against the release of hazardous energy. Many international companies have been adopting OSHA standards to manage their Lockout-Tagout procedures.
Occupational Safety and Health Administration (OSHA) standards are regulations that describe methods that employers are required to use to protect their workers from hazards.
OSHA standard 1910.147 covers Lockout-Tagout and hazardous energy control. The standard states the employer's responsibility to protect their workers from hazardous energy. And to train their employees to ensure they understand and can comply with the applicable requirements of the hazardous energy control procedures.
Four crucial points of the OSHA lockout standard are:
1. Devices must be identifiable.
2. The devices should only be used for energy control.
3. The devices shall not be used for other purposes.
4. The devices have to meet the following requirements: durable, standardized, reliable, identifiable.
The seven steps of a Lockout-Tagout-Tryout procedure
Step 1: Coordination
The procedure should be discussed in advance with the team. Determine the nature and duration of the work and which equipment needs to be locked out. Communicate the work with the team.
Step 2: Shut off the equipment
Shut down the machine.
Step 3: Isolate
It is not enough to activate an emergency stop device or control circuit. The power source must be completely shut off. Always check for residual energy.
Step 4. Lockout
The locking point that disables the separation of the energy needs to be immobilized with a safety padlock. Never give the key of your personal safety padlock to someone else.
Step 5: Tagout
Locked out equipment should be identified with specific tags to indicate that work is in progress and that the equipment should not be unlocked.
Step 6. Tryout
Check that the device is properly locked out: a start-up attempt, a visual check of the presence of a lockout system or measuring devices indicating the absence of voltage, pressure and flow.
Step 7: Perform the work
When you are certain the machine is correctly locked out you can perform the maintenance and/or cleaning work on the machine.
Would you like more information about the 7-step Lockout-Tagout procedure? We are ready and happy to answer all your questions about Lockout-Tagout.
Comments
Be the first to comment...